The goal of this project was to get myself more familiar with OpenGL’s programmable graphics pipeline. I’ve worked with OpenGL’s fixed function pipeline before, with the gl* functions, rather than using shaders. I started off by following this tutorial, which explains step by step how the rendering pipeline works, and how you can use it in C++.
For this project I made use of:
- freeglut – for opening a window, creating a canvas to render on, and getting user input
- GLEW – for getting access to more OpenGL functions
- SOIL – for loading images as textures
- GLM – a vector math library for C++
With freeglut, creating a canvas and opening a window was simple. The next step was to render something to the canvas with OpenGL. Just like in the tutorial, I decided to go with a simple cube. For this, I hardcoded the vertex coordinates of the corners of the cube, set their colours, send the data to the GPU, and use a simple vertex and fragment shader to display them. The vertex shader only projected the vertex coordinates to the camera view, and the vertex shader outputs the colour fo each pixel. OpenGL interpolates between the vertices automatically, giving the cube a smooth gradient look. OpenGL shaders are written in GLSL, a simplistic C-like language with some standard math functions included.
The next step was to add textures. For this, each vertex needed its UV-coordinates. These coordinates tell the shaders from which pixel of the texture the colour should be used. Just like the colour attribute, UV-coordinates are being interpolated nicely.
Now I wanted to make something more fancy looking: particles! Every particle is just a 2D image in 3D space which always faces the camera. This technique is called billboarding, and is often used for rendering 3D objects far in the distance as well. This gives the illusion of depth. Each particle is transparent, and has to be drawn a certain way. In the shader, nothing changes much. The vertex shader simply transforms the quads to camera view, and the fragment shader draws the colour. The way the output is used is different, though. Instead of writing the outcome directly to the buffer, it’s being applied through an filter. For partles, I used a filter that adds the colour to the already existing scene. Because of that, it’s important to draw particles, or anything that is translucent, after the rest of the scene.
To improve the performance, I wanted to try out a rendering technique called instancing, which basically tells the GPU to draw the same thing for every instance in a buffer. Implementing this was surprisingly easy, I only had to shift around some of the data from one buffer to another and use a different function call for rendering, and it gave a huge performance boost. Even my integrated graphics card could easily handle over 100.000 particles at a time. This is the result:
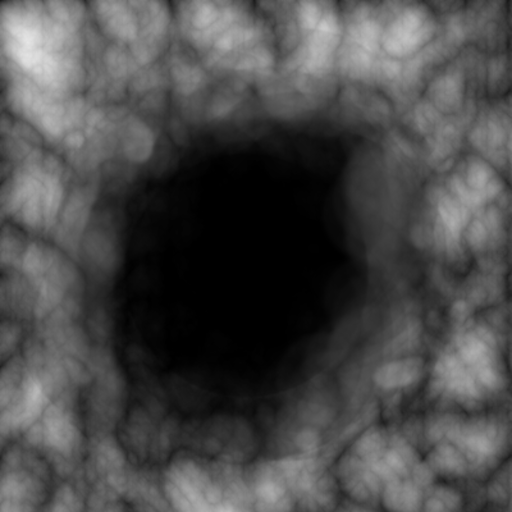
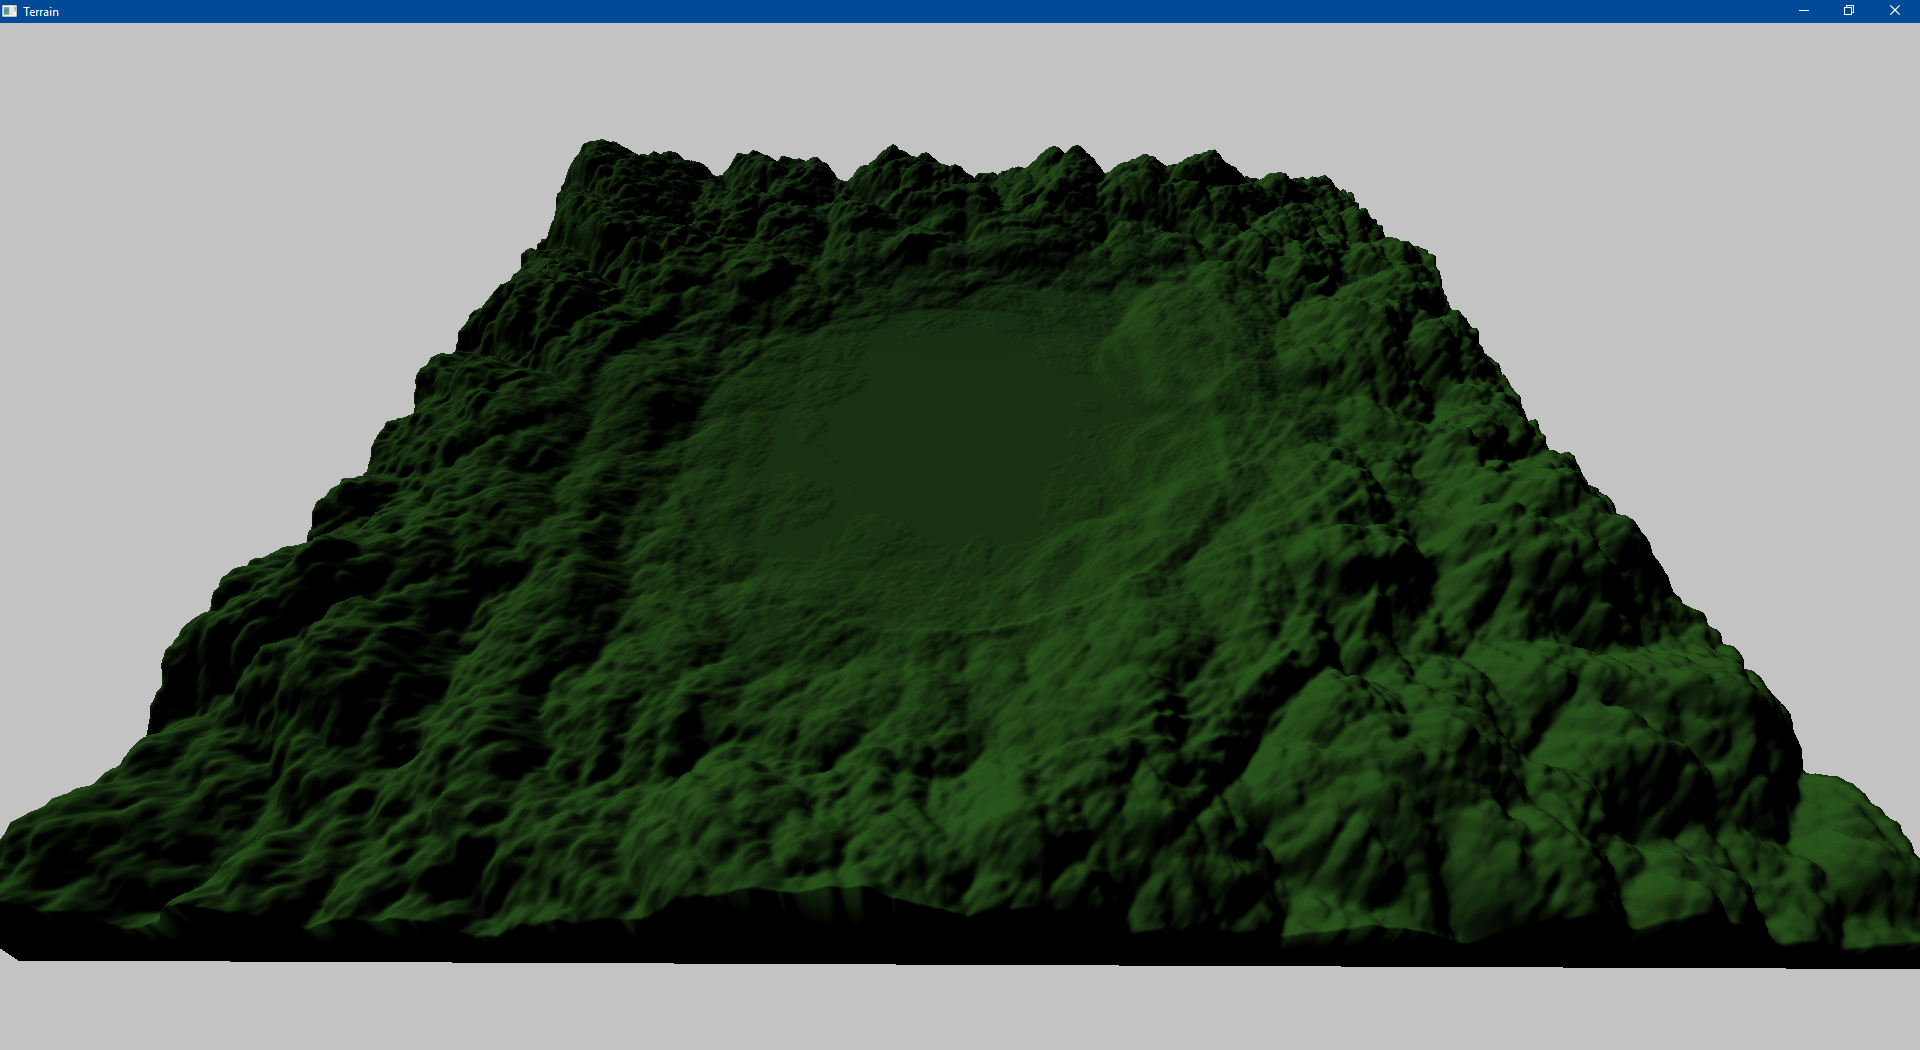
On to the next thing: A scene. For this I made a height-map loader which would load an image and turn it into a 3D landscape, by generating a quad between every 4 pixels. The lighter a pixel on the map, the higher it altitude. This is the heightmap that I went with, and how it looks after going through the terrain generator:
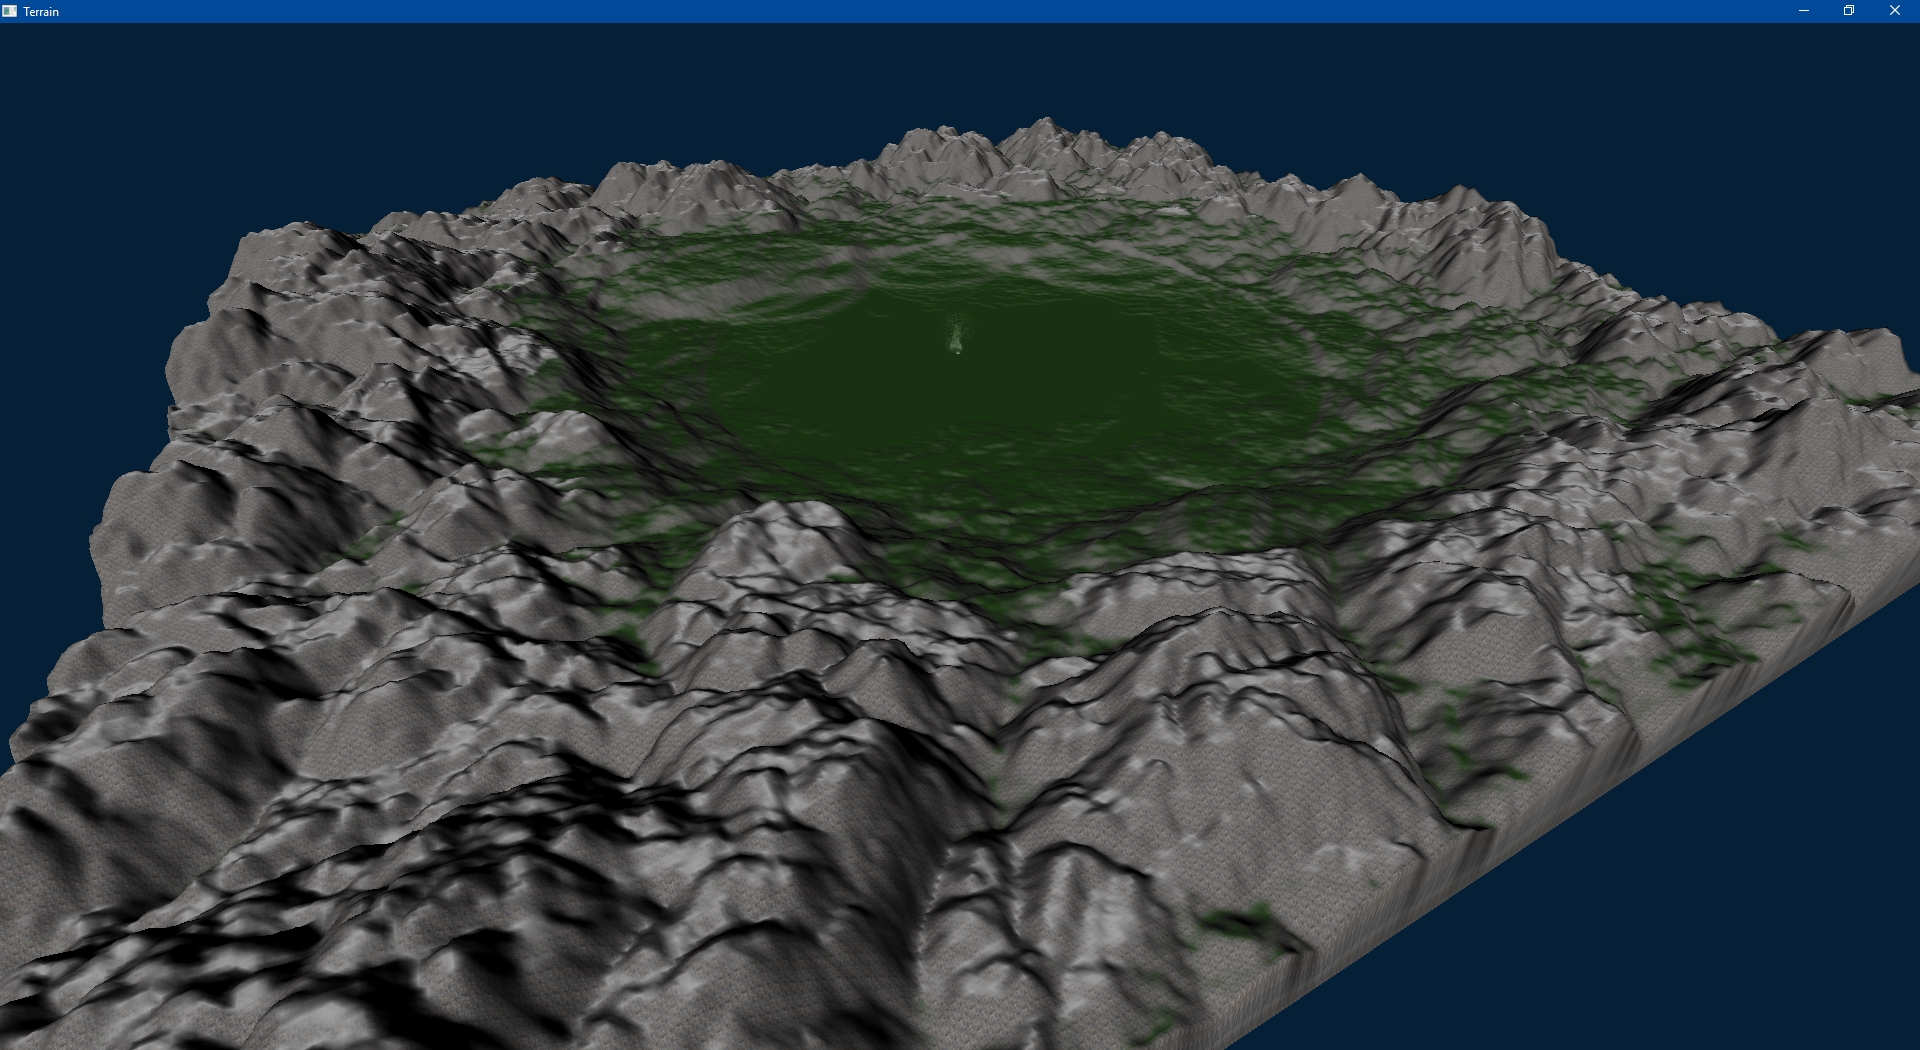
While this looked very nice already, there was one annoying issue that I couldn’t figure out the cause of. When looking at the surface far in the distance, there is a visible region where the texture just doesn’t look right. After having searched and with a bit of help, someone told me it’s because there is no Anisotropic filtering – looking at a surface doesn’t look the same from all angles. Luckily, OpenGL has a setting for handling these gracefully, which makes the GPU picks the mipmaps based on both distance and angle of incidence. The way GPUs do this is implementation dependand, but it’s safe to assume multiple mipmaps get used for this. The new result looks much nicer:

Now to make the mountains look more mountainey, I’ve added texture blending. For this I used thee textures: One for the grass, one for the rocks, and one for the snow. The fragment shader then decides which textures to use and how to mix them. It deftauls to grass, but between a certain height it slowly interpolates towards the snow texture. With this, the mountains already had snow on them, while below it was still grassy. The rock texture is done after that, by checking how steep the surfaces are. For this, the fragment shader takes the Y direction from the normal. The steaper, the more rocky.
GLSL has a handy mix function, which takes two colours (taken from textures) and blends between them based on a given ration. A value of 0 would pick the first, a value of 1 would pick the second, anything inbtween gets interpolated. The result:

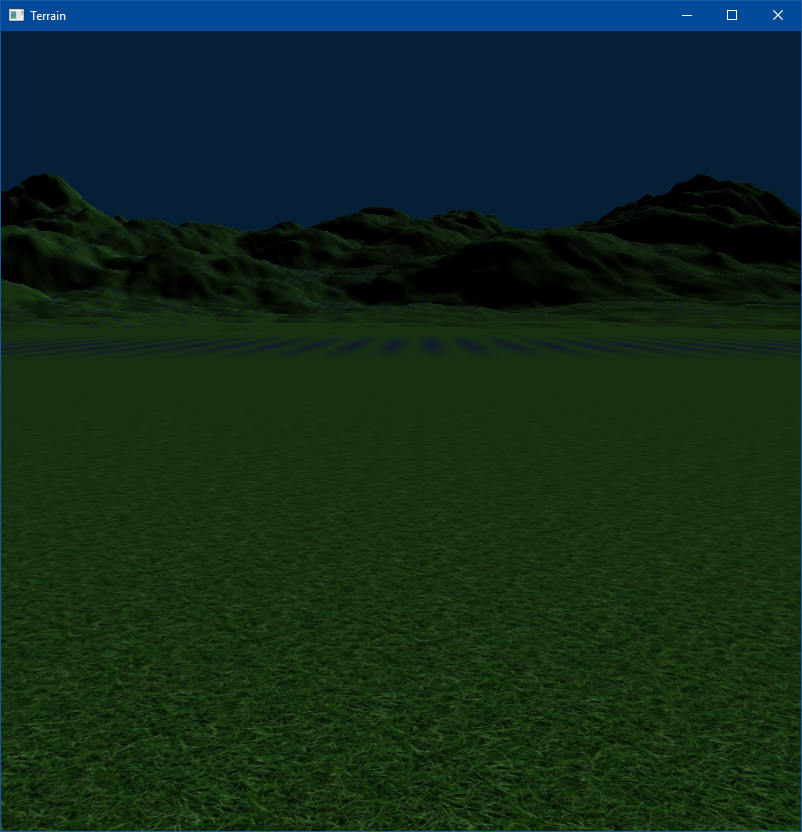
Just one thing left to do: Combining the two projects! The people from this mountain area are obviously happy with how their terrain has been generated, so they decided to celebrate with fireworks.