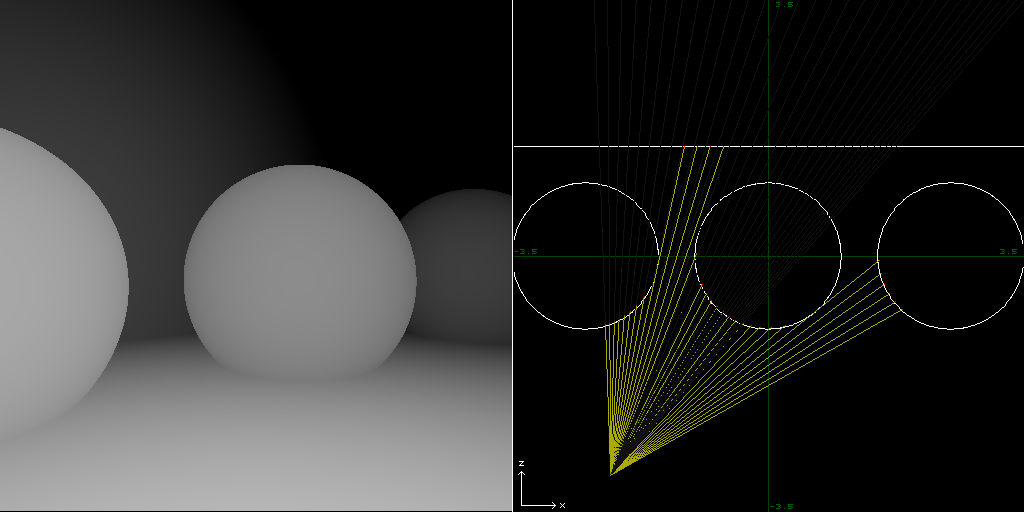
This ray tracer was the first 3D graphics programming project for me. I started off with an example that had functions available for intersecting with infinite planes and spheres. Using those functions I started off by rendering the distance from the camera (first image), the closer something is, the lighter the pixel appears in the screen. With this the scene is immediately visible. From there on I created a point light and added diffuse shading, then shadows, anti-aliasing (picking a random target within the pixel’s space), reflections, refractions, Fresnel equations, Beer’s law, and finally normal maps.


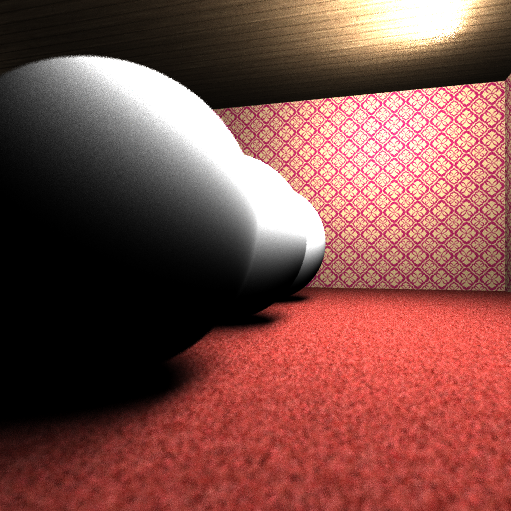
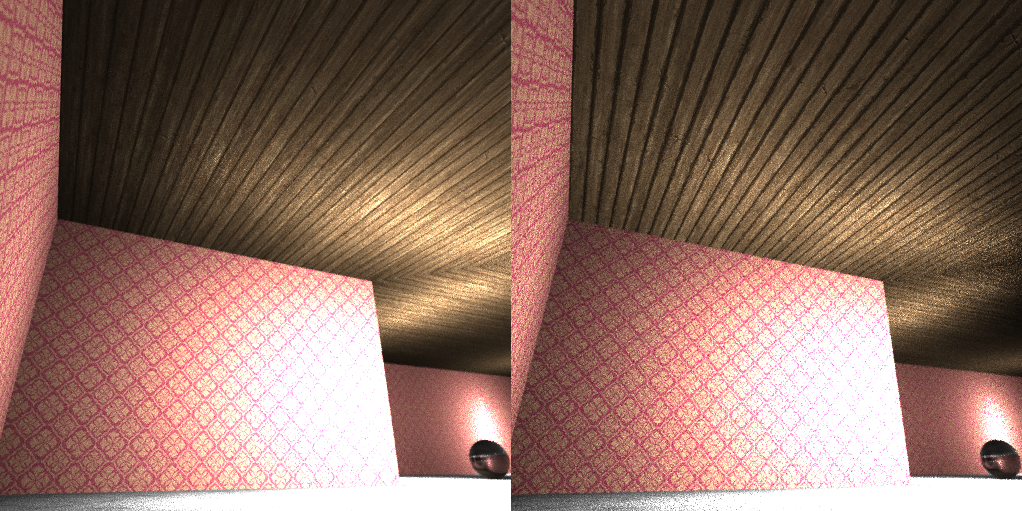
Picking a random position within a pixel’s space instead of always the top-left position, and blending the pixels together, I found that you get very realistic looking images. Without it, there’s always a noise visible, and edges look sharp, because everything is aliased. I also used randomness to pick which pixels to render. By this the screen will be more visible more soon as you’re not rendering just one point at a time, but a bit of the entire screen spread out. This makes moving the camera around a lot faster.
Code Snippets
Reflections
When a material is reflective, this part will recursively call the trace function with the reflection ray. To prevent clogging or getting stuck in an infinite loop, the ray depth is increased by one, and checked at the top of the Trace function.
[pastacode lang=”cpp” message=”” highlight=”” provider=”manual” manual=”float%20reflscalar%20%3D%20_Ray.intersection.material-%3Ereflection%3B%0Aif%20(reflscalar%20%3E%200.0f)%20%7B%0A%09vec3%20N%20%3D%20_Ray.intersection.N%3B%0A%09if%20(glm%3A%3Adot(N%2C%20_Ray.D)%20%3E%200)%20%7B%0A%09%09N%20%3D%20-N%3B%0A%09%09cp%20%3D%20contactpoint%20%2B%20N%20*%20EPSILON%3B%0A%09%7D%0A%0A%09%2F%2F%20Trace%20reflection%20ray%0A%09Ray%20reflectionray%3B%0A%09reflectionray.O%20%3D%20cp%3B%0A%09reflectionray.D%20%3D%20_Ray.D%20%2B%202%20*%20glm%3A%3Adot(_Ray.D%2C%20-N)%20*%20N%3B%0A%09reflectionray.t%20%3D%20INFINITY%3B%0A%09raytype%20%3D%20RAY_REFLECTIVE%3B%0A%09reflect_color%20%3D%20Trace(reflectionray%2C%20depth%20%2B%201%2C%20refrIndex)%20*%20_Ray.intersection.material-%3Ecolor%3B%0A%09reflect_color%20*%3D%20reflscalar%3B%0A%7D”/]
Refractions
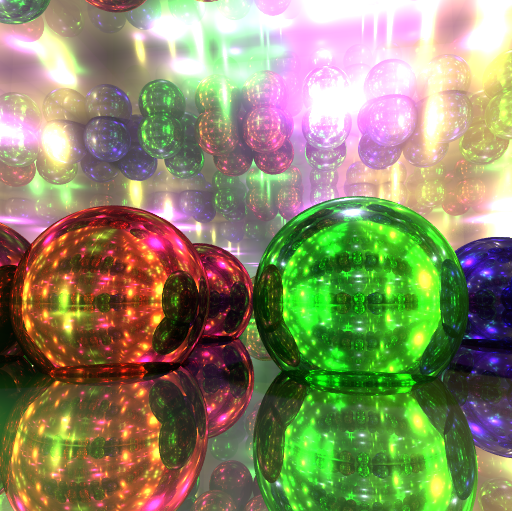
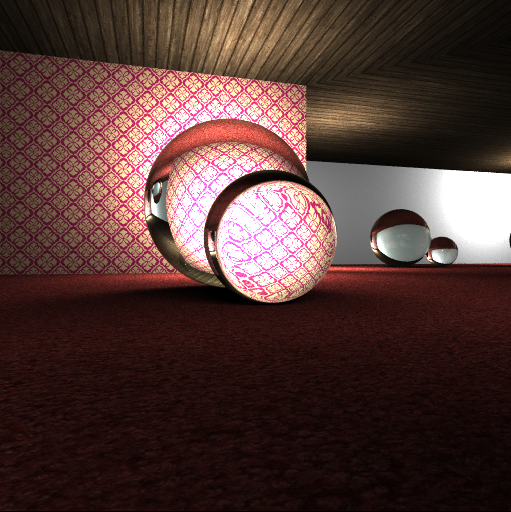
Refractions are very similar to reflections, only they are going through the object. An object made out of glass distorts the view of whatever is behind it, because the ray’s direction is changed. It works very similar to reflections, only the calculation of the ray’s direction is different.
After that there’s a part that calculates the weight between how much is reflected, and how much is refracted. When you look at a refractive surface, the angel at which you look changes what you see. When looking straight at a window, you can see right through, but when you look at it from an angel, it will reflect much more. This piece of code uses Schlick’s Approximation, which approximates Fresnel’s equations. It calculates the weight between the reflection and refraction.
[pastacode lang=”cpp” message=”” highlight=”” provider=”manual” manual=”%2F%2F%20Schlick%0Afloat%20v%20%3D%200%3B%0Aif%20(ddn%20%3E%200)%0A%09v%20%3D%20std%3A%3Apow(nt%20-%201%2C%202)%20%2F%20std%3A%3Apow(nt%20%2B%201%2C%202)%3B%0Aelse%0A%09v%20%3D%20std%3A%3Apow(1%20-%20nt%2C%202)%20%2F%20std%3A%3Apow(nt%20%2B%201%2C%202)%3B%0A%0Afloat%20wt%20%3D%20v%20%2B%20(1%20-%20v)%20*%20std%3A%3Apow(1%20%2B%20glm%3A%3Adot(N%2C%20_Ray.D)%2C%205)%3B%0Areflect_color%20*%3D%20wt%3B%0Arefract_color%20*%3D%201%20-%20wt%3B”/]
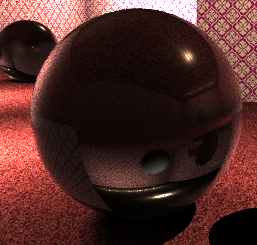
Absorption
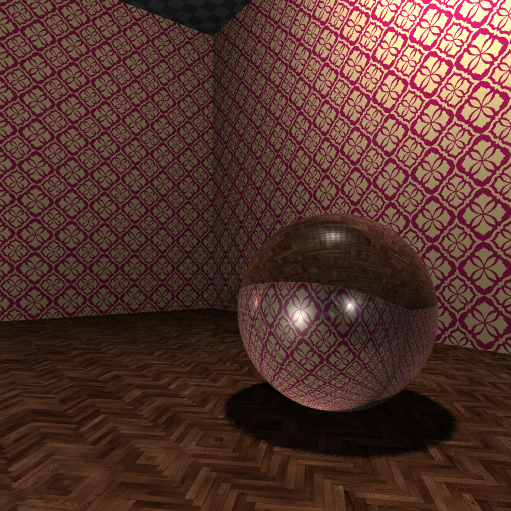
Light gets absorbed by anything it travels through, even air. It hits particles in there. The reason for the sky being blue is because the sky-blue colour is the combination of the waves hitting the most particles. For the ray-tracer I only applied absorption to objects with a higher density, as you won’t see it in the air easily. A large sphere made out of glass would appear darker than a small one, even with the same density. To calculate how much light is absorbed, I used Beer’s Law.
[pastacode lang=”cpp” manual=”%2F%2F%20Beer’s%20law%0Aif%20(glm%3A%3Adot(refractionray.D%2C%20refractionray.intersection.N)%20%3E%200)%20%7B%0A%09const%20vec3%20inversedcolor%20%3D%20vec3(1.0f%2C%201.0f%2C%201.0f)%20-%20refractionray.intersection.material-%3Ecolor%3B%0A%09const%20vec3%20abscolor%20%3D%20inversedcolor%20*%20refractionray.intersection.material-%3Edensity%20*%20-refractionray.t%3B%0A%09const%20vec3%20trans%20%3D%20vec3(%0A%09%09%09std%3A%3Aexpf(abscolor.r)%2C%0A%09%09%09std%3A%3Aexpf(abscolor.g)%2C%0A%09%09%09std%3A%3Aexpf(abscolor.b)%0A%09%09)%3B%0A%09refract_color%20*%3D%20trans%3B%0A%7D” message=”” highlight=”” provider=”manual”/]